
IMAGE SPECIFIC INFORMATION:
Camera - Iphone 5.
CONSIDERATIONS
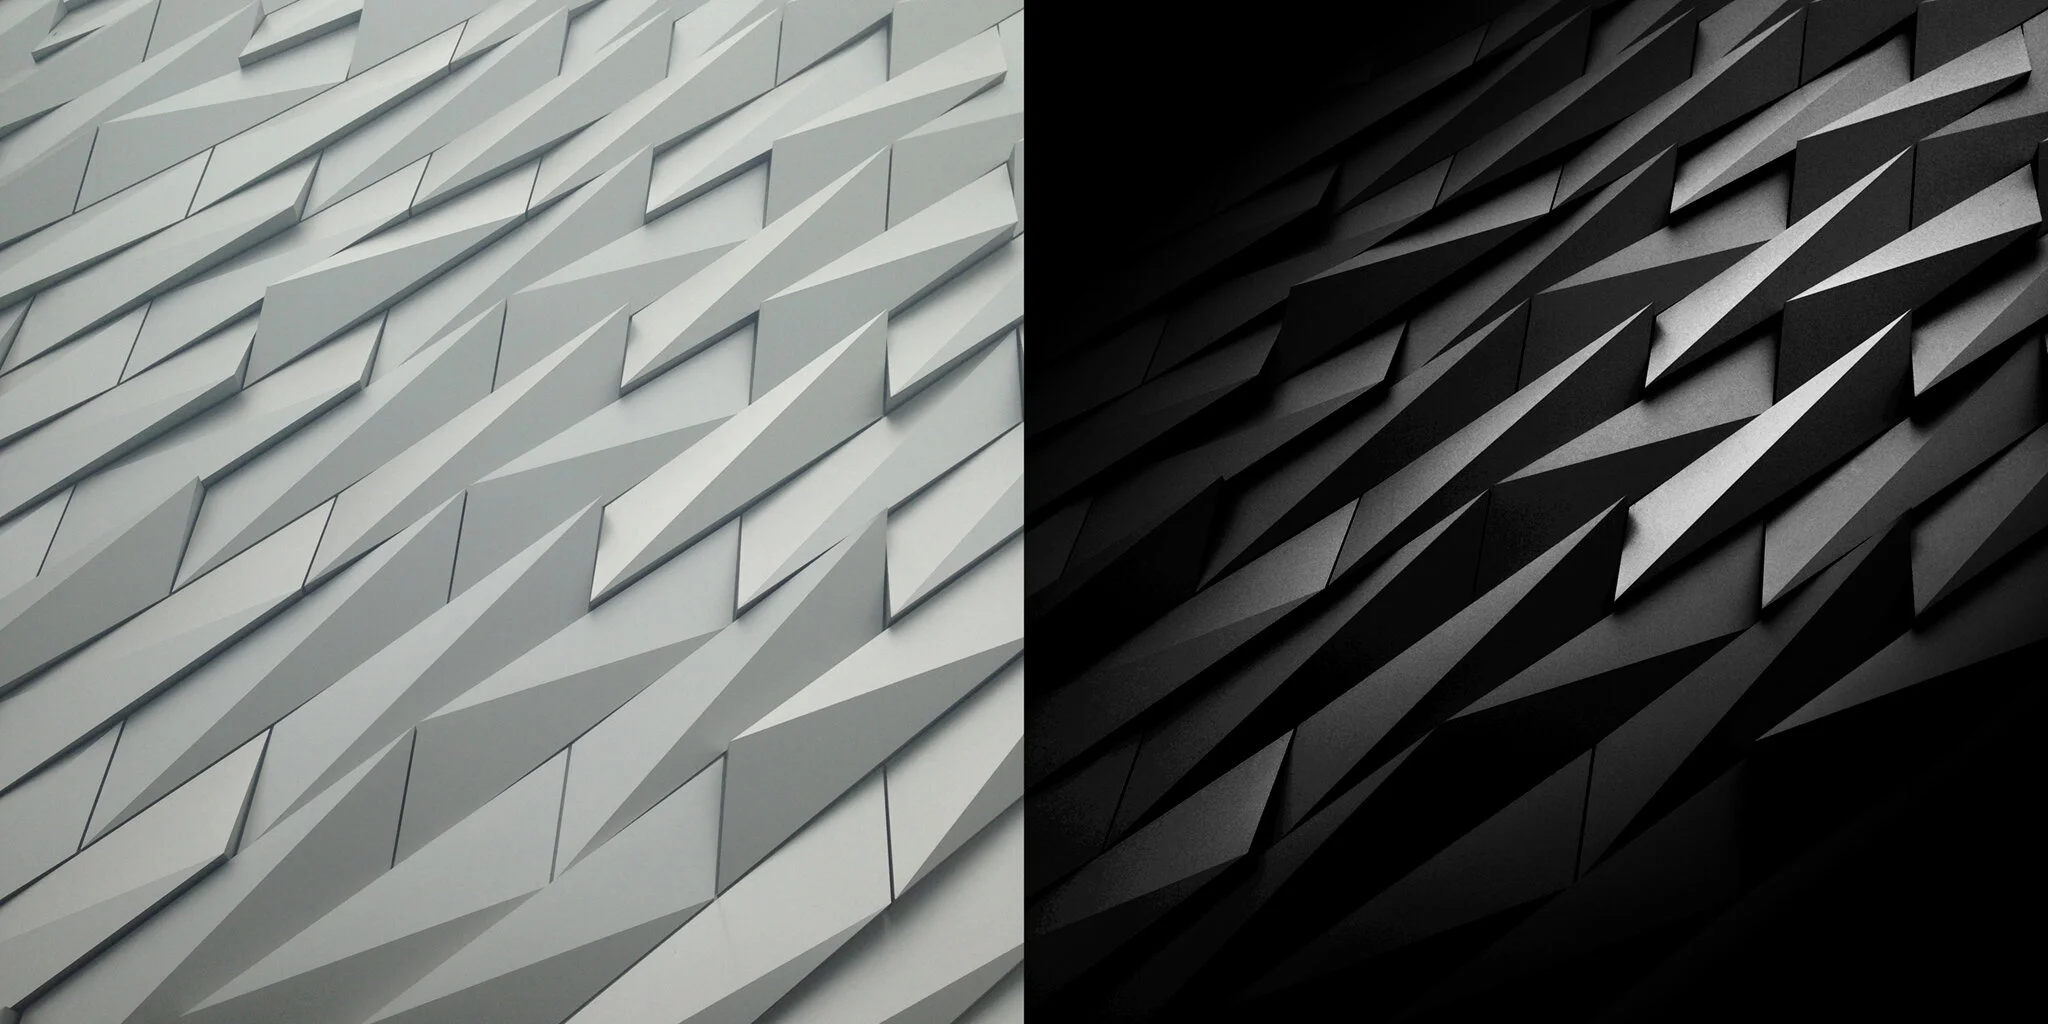
1. To create a really simple high contrast black and white image.
2. Utilise channels efficiently to produce the desired contrast.
3. Add an appropriate vignette to help focus the viewers attention and create more depth within the image.
PHOTOSHOP PROCESSING
Step 1. Import the original square iphone image into Photoshop CC2014.

Original Image
Step 2. Select the appropriate channel to edit the luminosity of the image. As this image is already monochromatic, it only gives you two main options for your choice. Both the composite channel of RGB (or known as grey) as well as the individual channels of red, green, blue which will all be the same value. There is a slight difference between the RGB and the Individual channels.
*Please note that you do have to have the Channels palette open to view your channels within your image. Simply go to File > Window > Channels to display the channel palette if you can't find it.
Step 3. Once the channel is selected decide how you wish to edit the contrast of the Channel. You can use any method of adding contrast to your channel (curves, levels, brightness/contrast methods), I simply used my method of Apply Image to both darken and brighten the contrast of the channel.

Original Image, Selected the RGB (Grey) Channel - Multiplied x 3 using Apply Image

Same Channel Selected, Inverted the Channel or Selection - Multiplied x 3 using Apply Image

The Inverted Channel of the Last Selection; The combined effect of (6) multiply adjustments only using Apply Image
Step 4. Once the combined channel has been created. I copied this channel onto its own individual layer within the layer stack.
*A useful shortcut I use is by pressing Command/Ctrl + A (select all) then Command/Ctrl + C (copy), Create a new layer (Shift + Command/Ctrl + N) and then to (paste) Command/Ctrl + V.
Step 5. To create a selective vignette using the gradient fill adjustment layer.

This Gradient Fill was set to Reflected, 128Degrees and with Reverse enabled.
Step 6. Using the combined channel as a mask for a curve adjustment layer. (exactly the same channel as per step 3).

This adjustment performed through the combined mask, subtly lifts boost the highlight information.
Step 7. Created a noise layer using the Facebook Powertools Photoshop extension.
Before/After